|
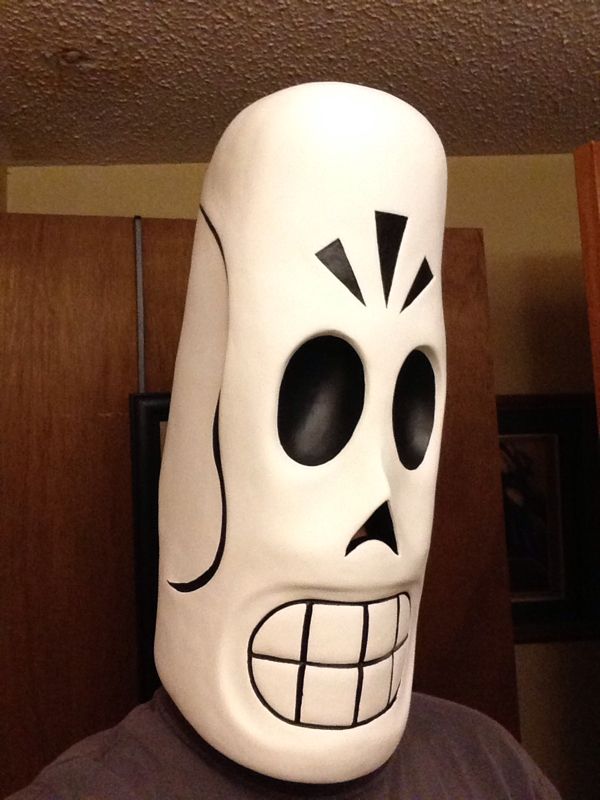
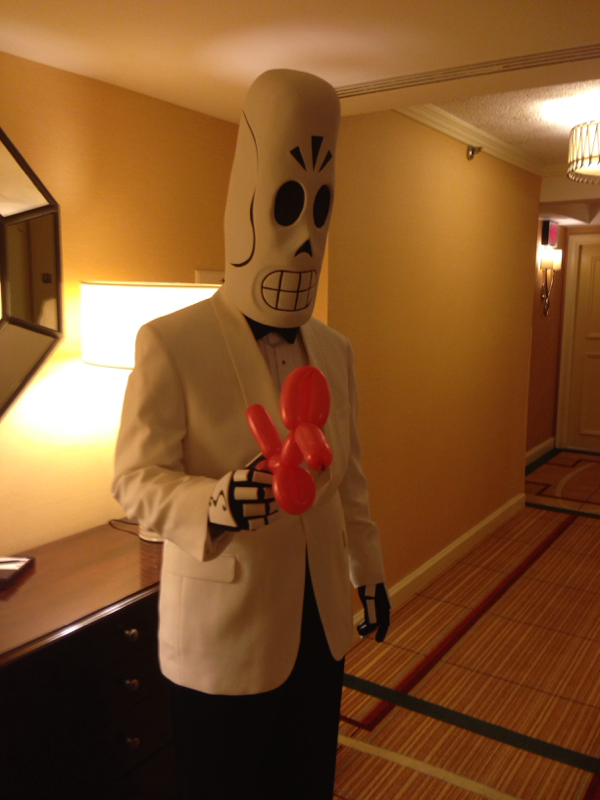
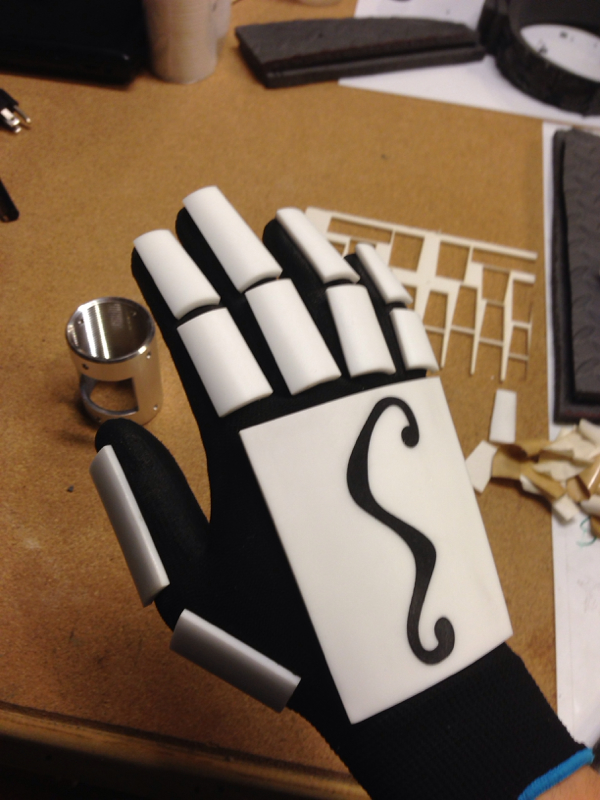
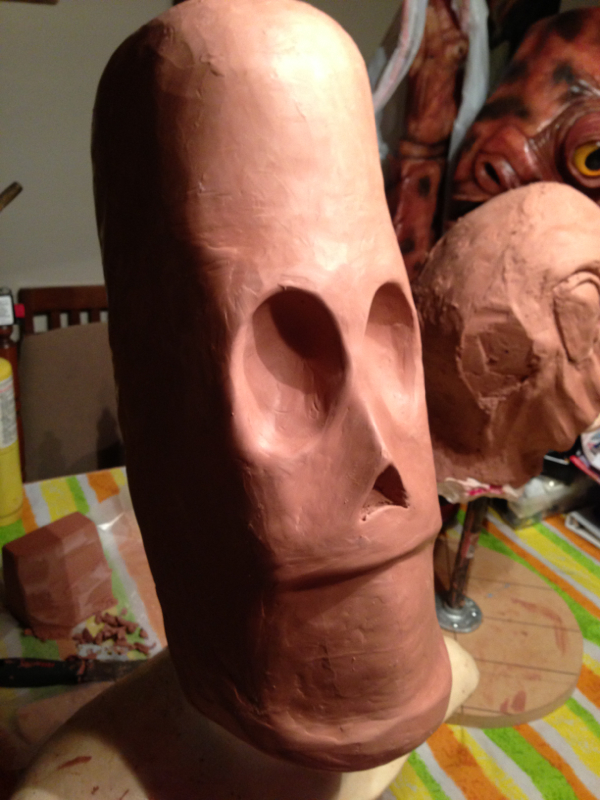
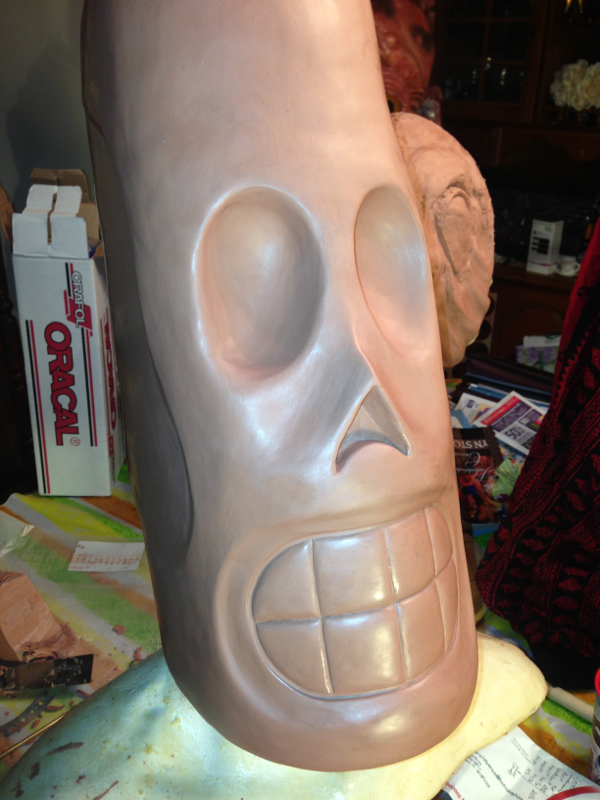
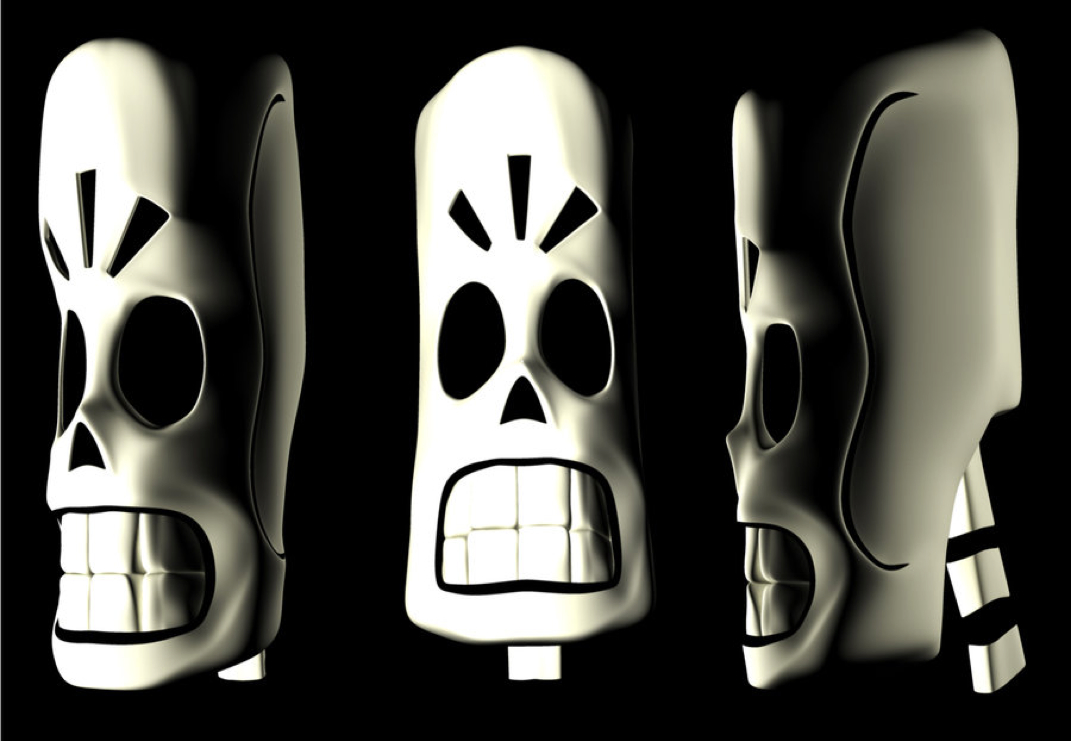
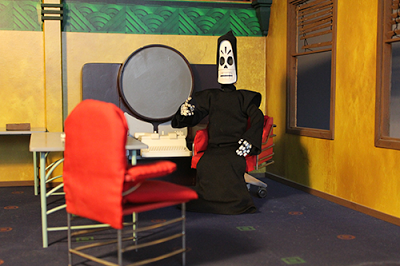
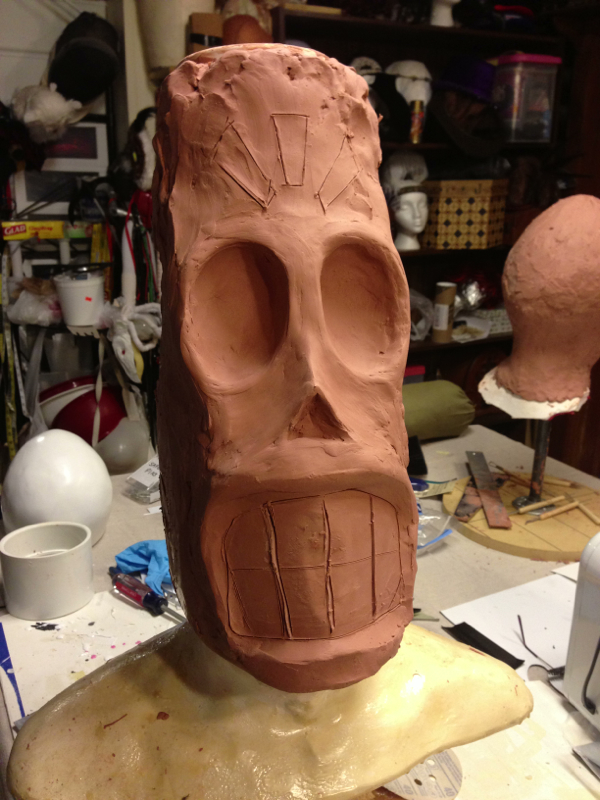
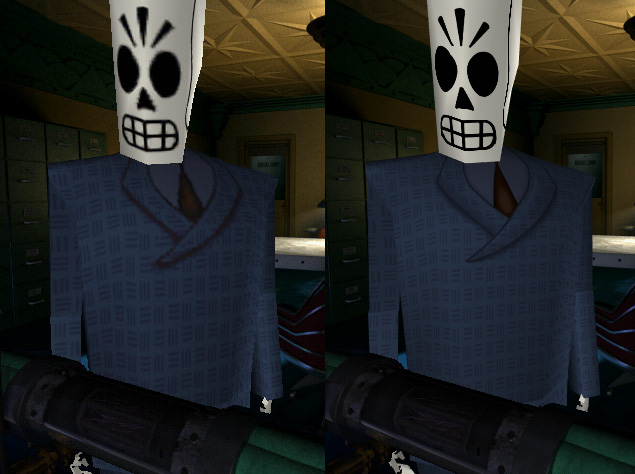
So a few weeks has passed, I had surgery on my right arm to remove some unnecessary screws from a childhood accident. So I've shelved this project up until this past weekend. I was able to get in a lot of sculpt time now that I have fresh clay. I'll be adding the last arrow details soon, the silicone for this project is in the mail. Monday I'll slap some rubber on this puppy! So I'm a child of the 80ies but a teen of the 90ies. And that meant I was privé to some amazing adventure games. If you ask other people my age or even a bit younger what Adventure games they have played you will hear about Grim Fandango from almost all of them. It was a warm Art Deco world filled with unforgettable characters. Being a costumer since I was young I've always had an itch in the back of my mind to have a Manny Calavera costume. Well the one thing that always stopped me is my skill in reproducing it the way I envisioned it. I now have Chavant Clay and I've fallen in love with how it allows me to bring the objects in my mind to reality with my hands. A big shout out to Tom Beg who put his skills with 3D sculpture to renew Manny as if he was in a next gen game. He sent me his 3D file to use as reference for this project. Who is also breathing new life into Grim Fandango in the style of a stop motion homage to the opening cutscene. He has been working hard on it since 2011 and looks to be making solid progress. It's an early rough sculpt and I have the eyes too high but it's coming along. Stay tuned for the progress! Last but not least, is Grim Fandango Deluxe by Johnny Walker which is breathing new life into the older game with new HD textures. Go check him out!
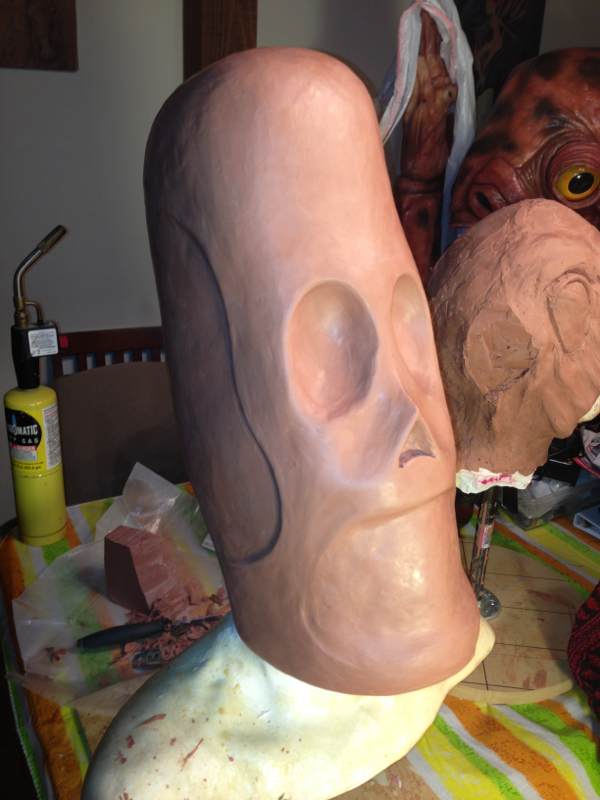
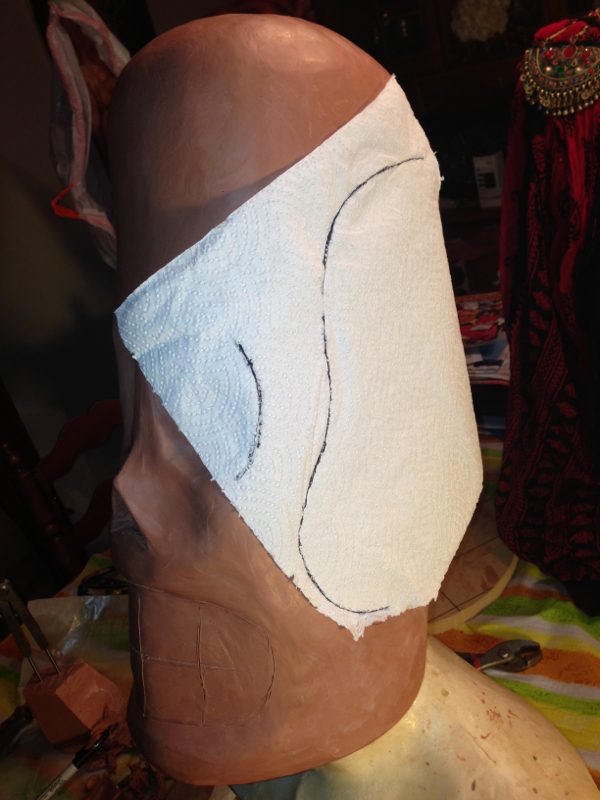
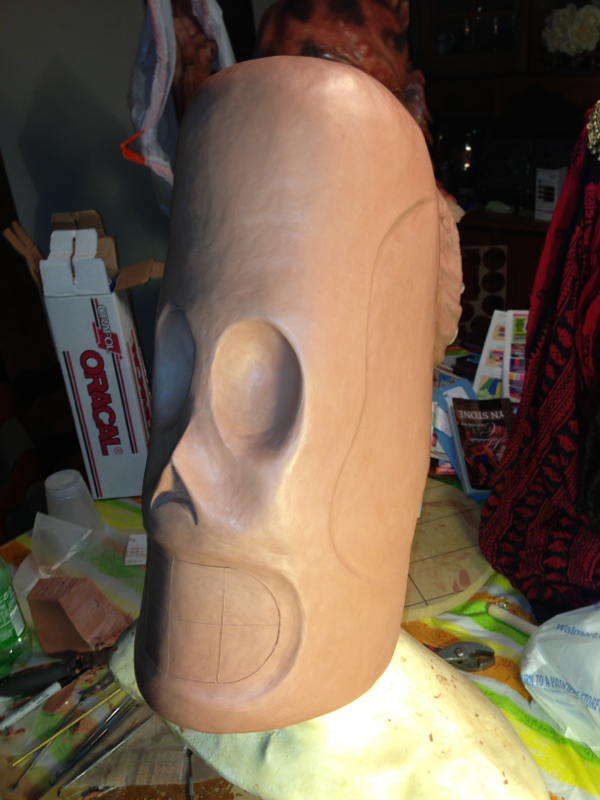
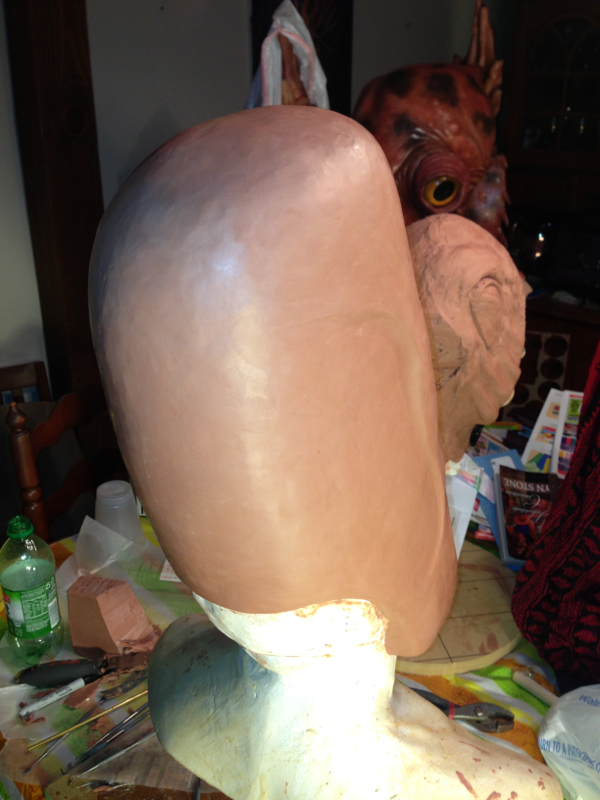
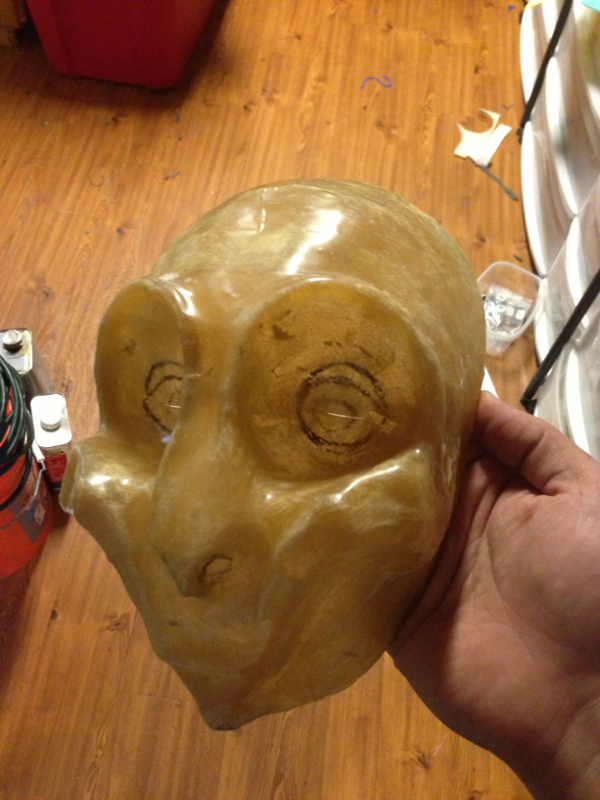
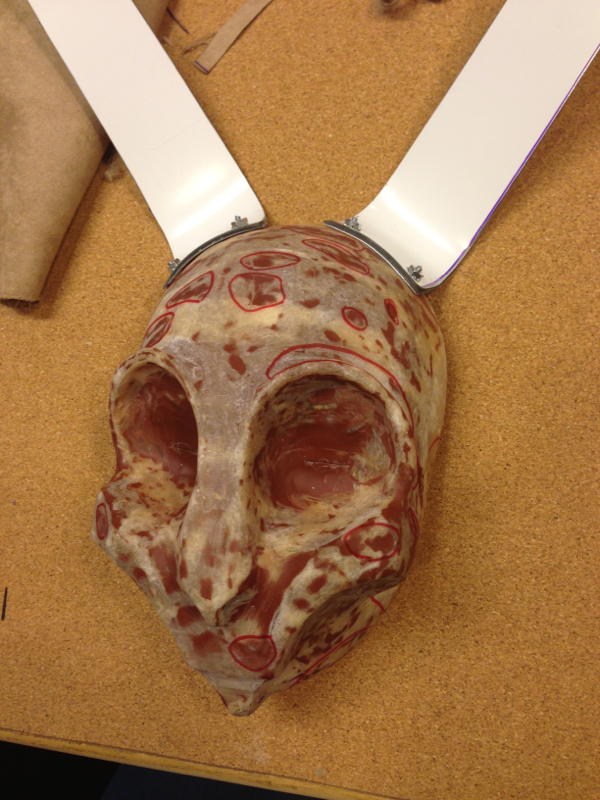
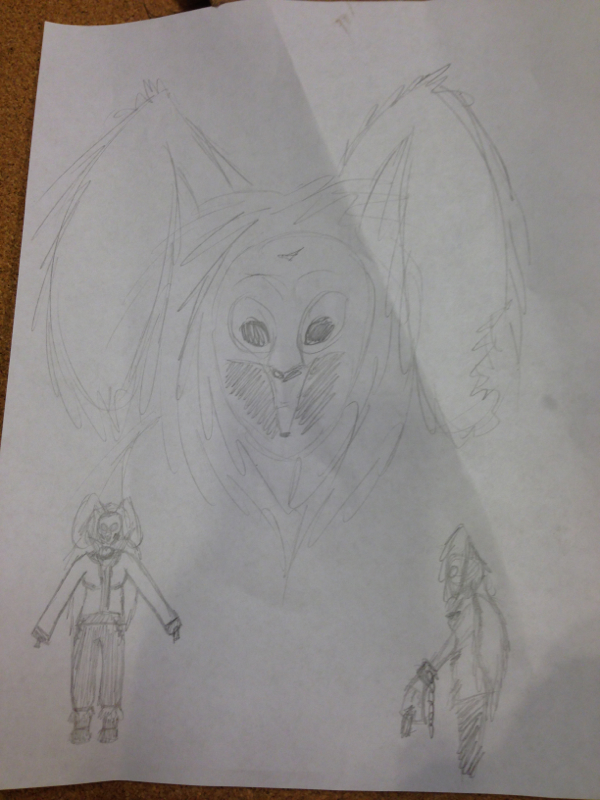
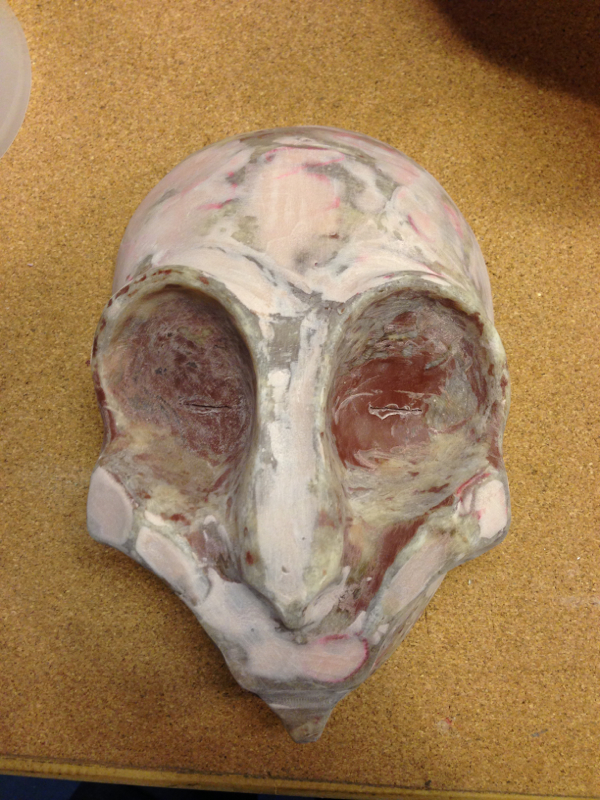
So this was a project my Step Daughter designed and sculpted in clay. I took the clay sculpture and covered it in a paper mâché and when dry I coated it in fiberglass resin. Once removed from the original clay sculpture I coated it with a few layers of resin and fiberglass to strengthen it. I chose this method due to how incredibly strong the end result is, it will have these tall ears which will require the support. This is a method we have used a lot before and later I will post photos of our plague doctor skull mask and plague doctor bird skull mask.
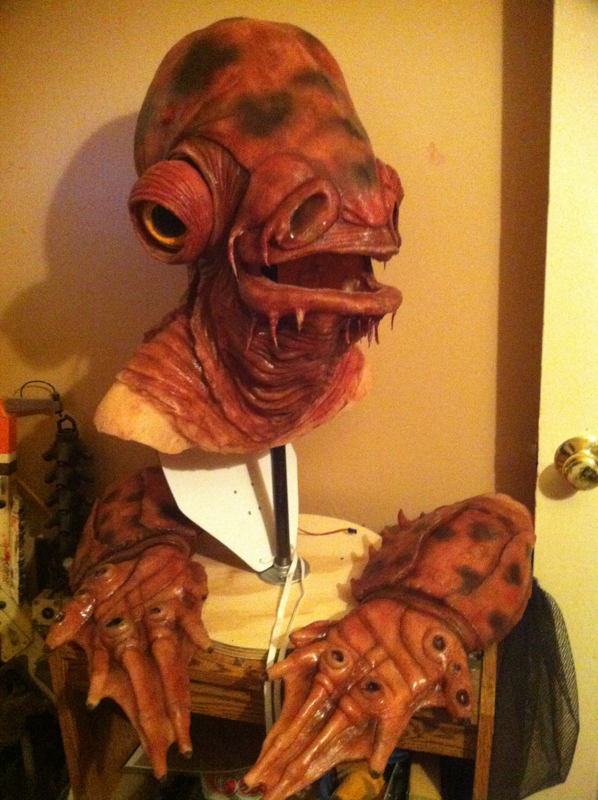
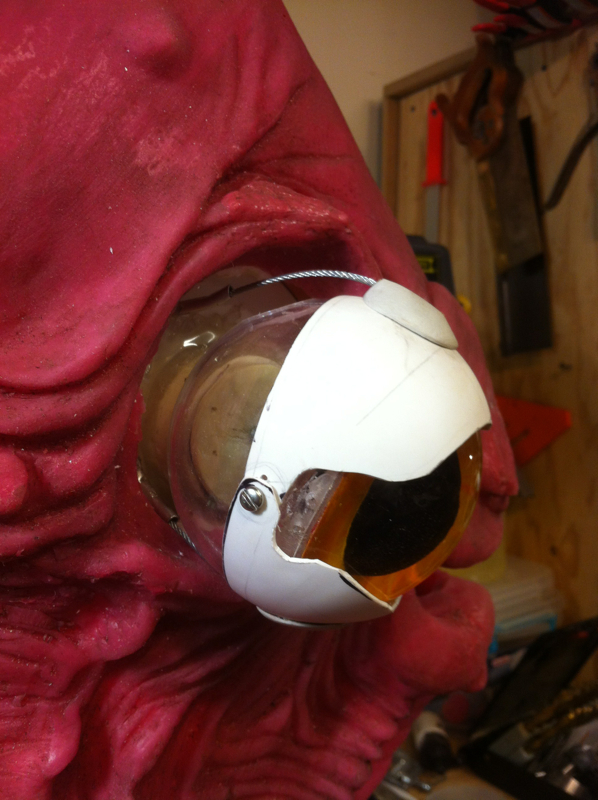
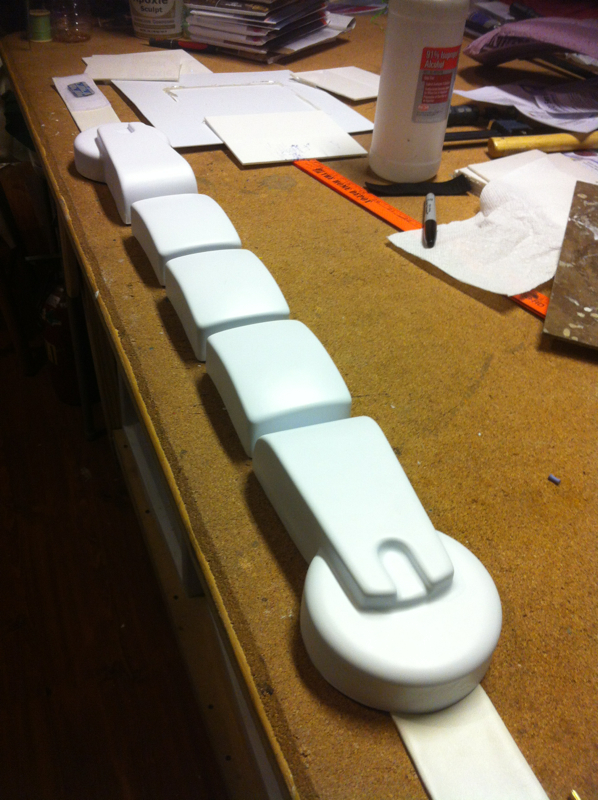
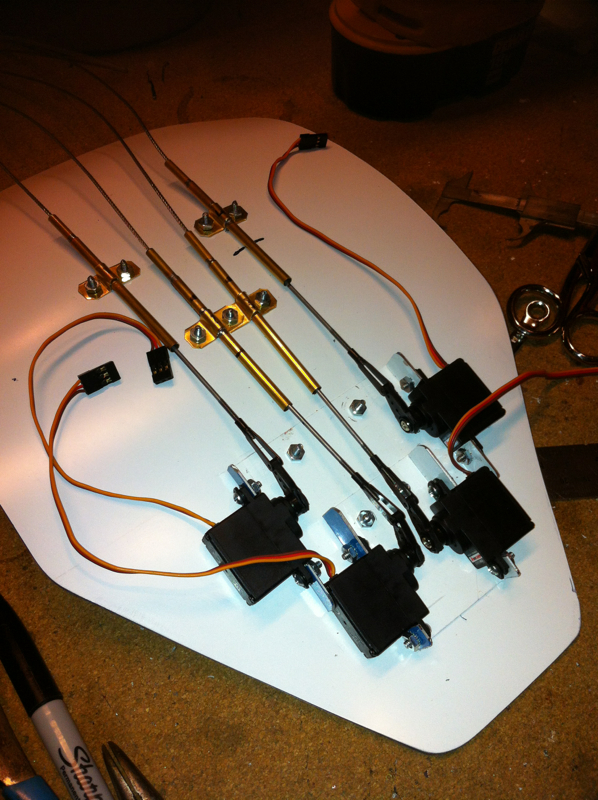
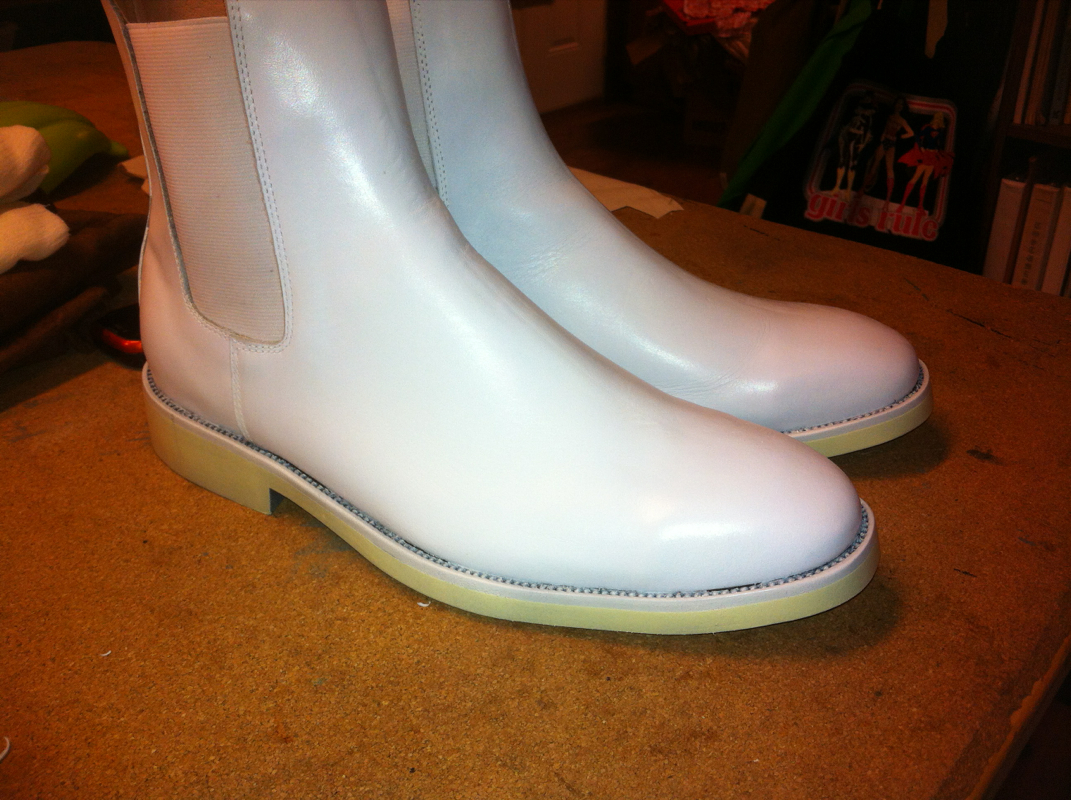
Sneak peek at my newest project Admiral Ackbar. I've been wanting this costume for some time now. Always wanted to do it accurately. I also wanted to make it animatronic and try my hand at servos and cable control. So here is an early peek, better photos next week!
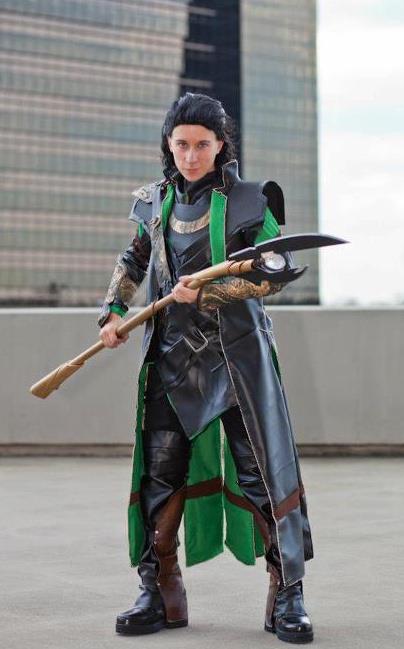
Photo by (c)Patrick Sun Okay so here is a pic of my good friend (alias) Elendriel Alastair and her Loki cosplay holding the staff I made. While comments are now pouring in as we've FINALLY got a good view of the real staff(s all 3 of them) I spoke with her and we'll be starting a more accurate model sculpted and resin cast. Just an FYI I will not be selling any between now and Dragon*Con just because my Dragon*con is very very busy already.
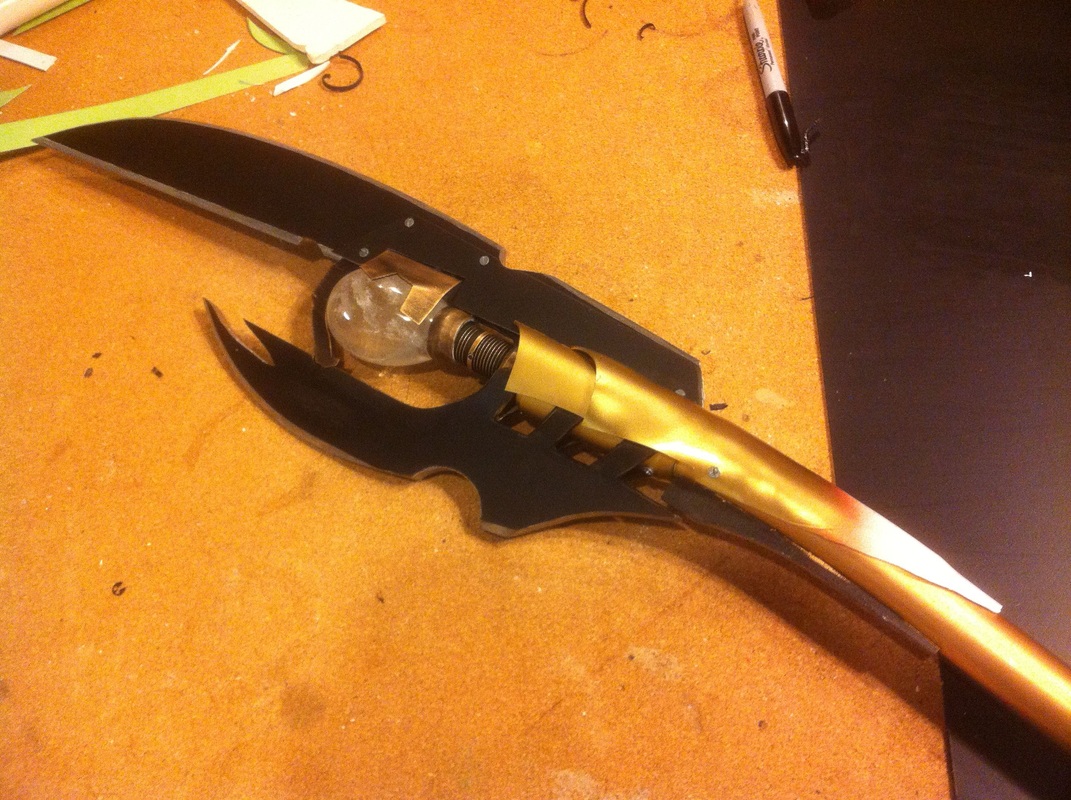
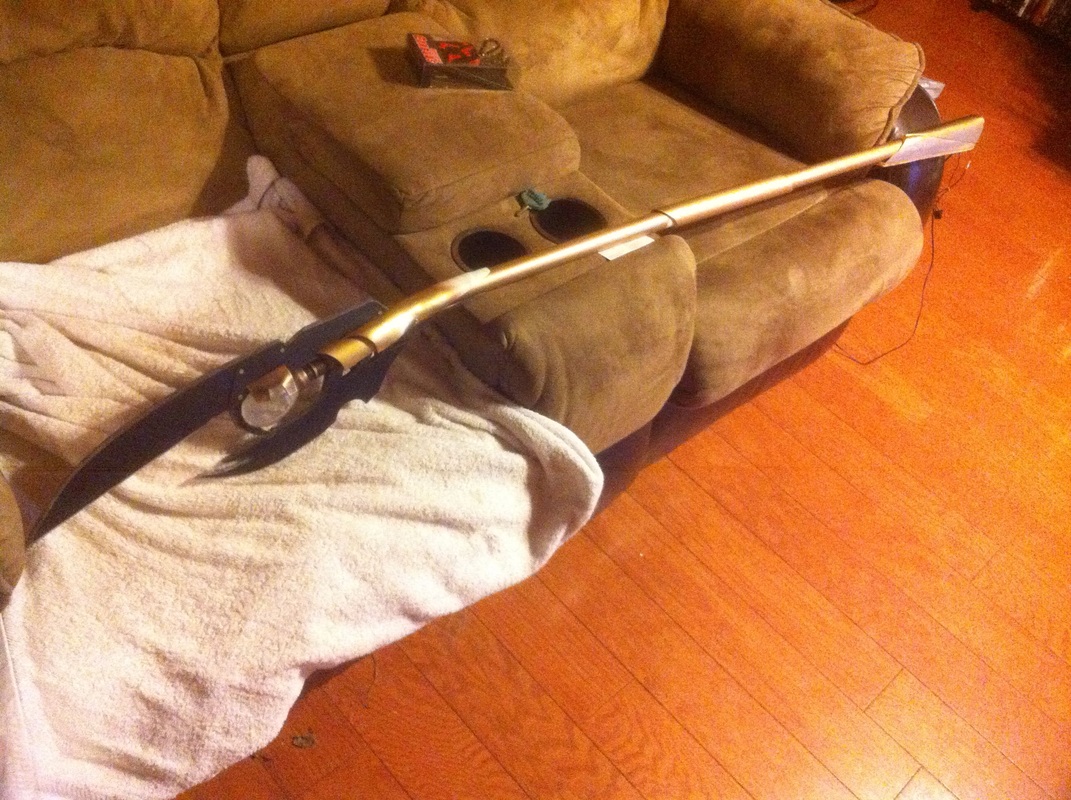
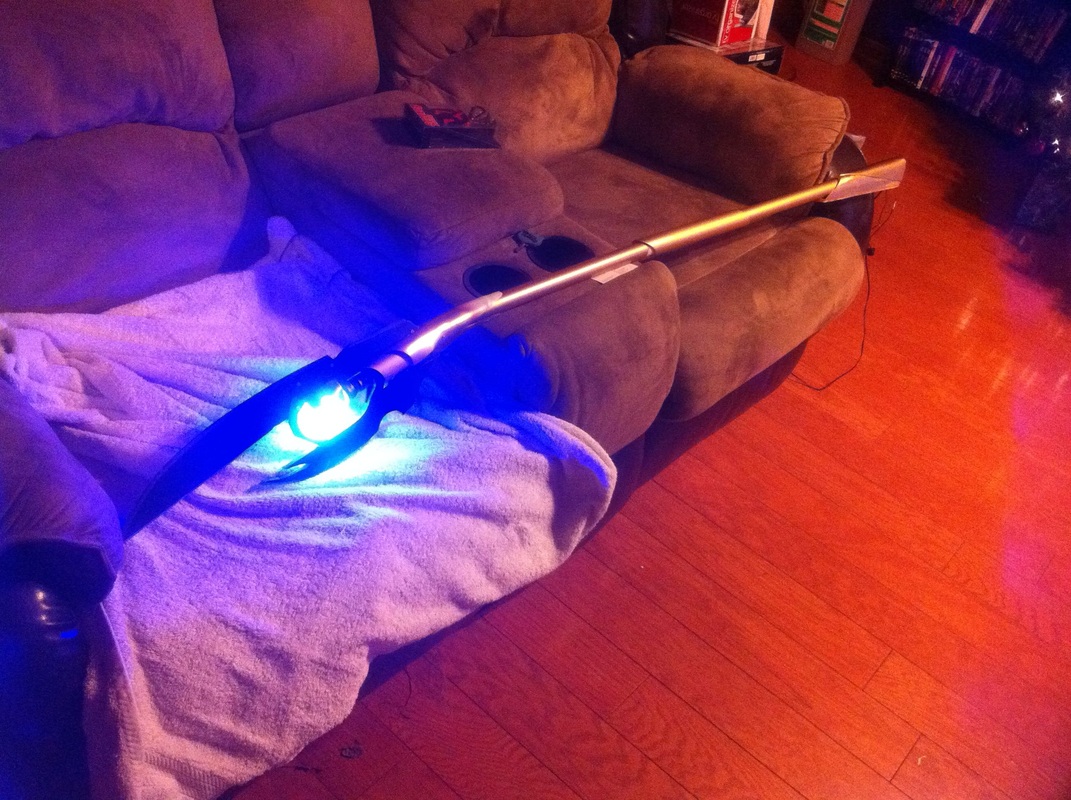
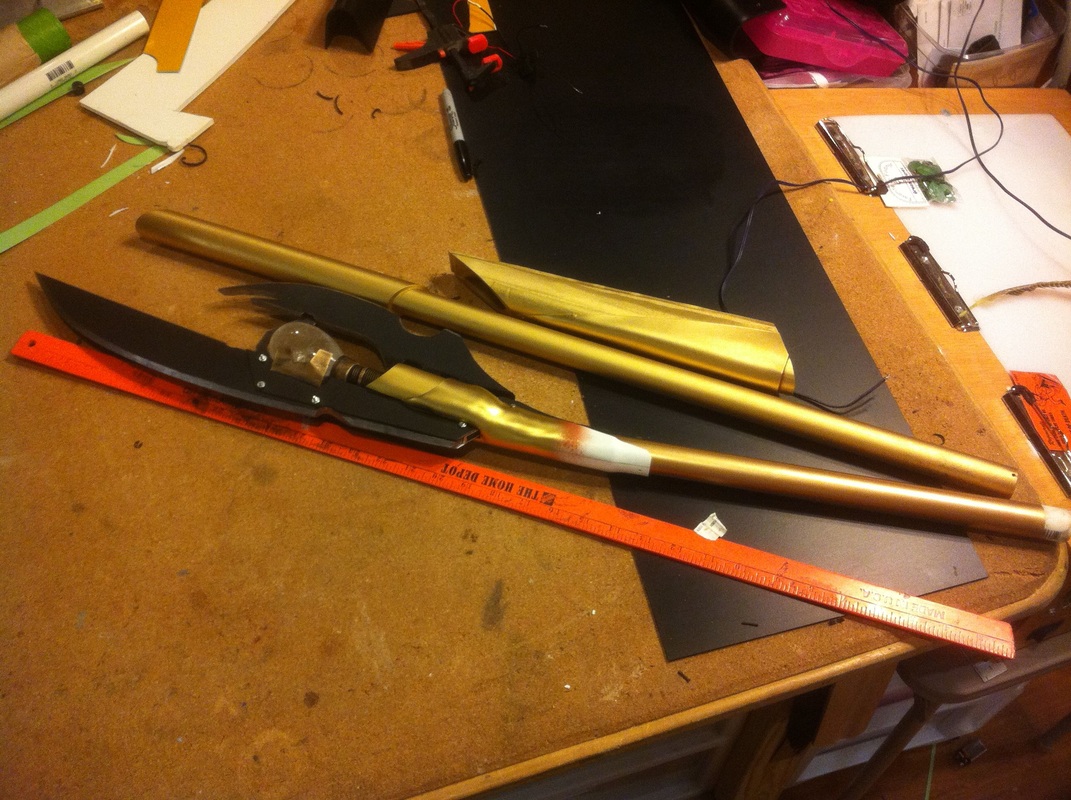
Thank you everyone for the kind comments of excitement and appreciation :) Just a quick update with pics, I'll do a proper write up when it's done. Just an FYI to those curious, there are 3 distinct staffs you can see from the production and promos photos and video. I decided to make this version closest to the staff seen on display in the trailer. also a amateur video of the downtown scene made me realize all versions are flat and not "trident" like. The final back armor section is missing because I dropped it coming in from getting painted outside, had to strip it and repaint to cover the scuffs. Didn't want it stopping putting the rest of this together for a test fit! mostly assembled, still need to attach some parts and run the wires and switches. the staff will eventually have two light sources, currently the luxeon 3 watt LED is the only one hooked up right now and holy crap it's bright. SLR photography will get a wicked lens flair from it. There will be a cluster of basic blue LEDs in there too for a constant long running blue light. still need to paint the screw heads Shown here disassembled, it breaks down to roughly 36"
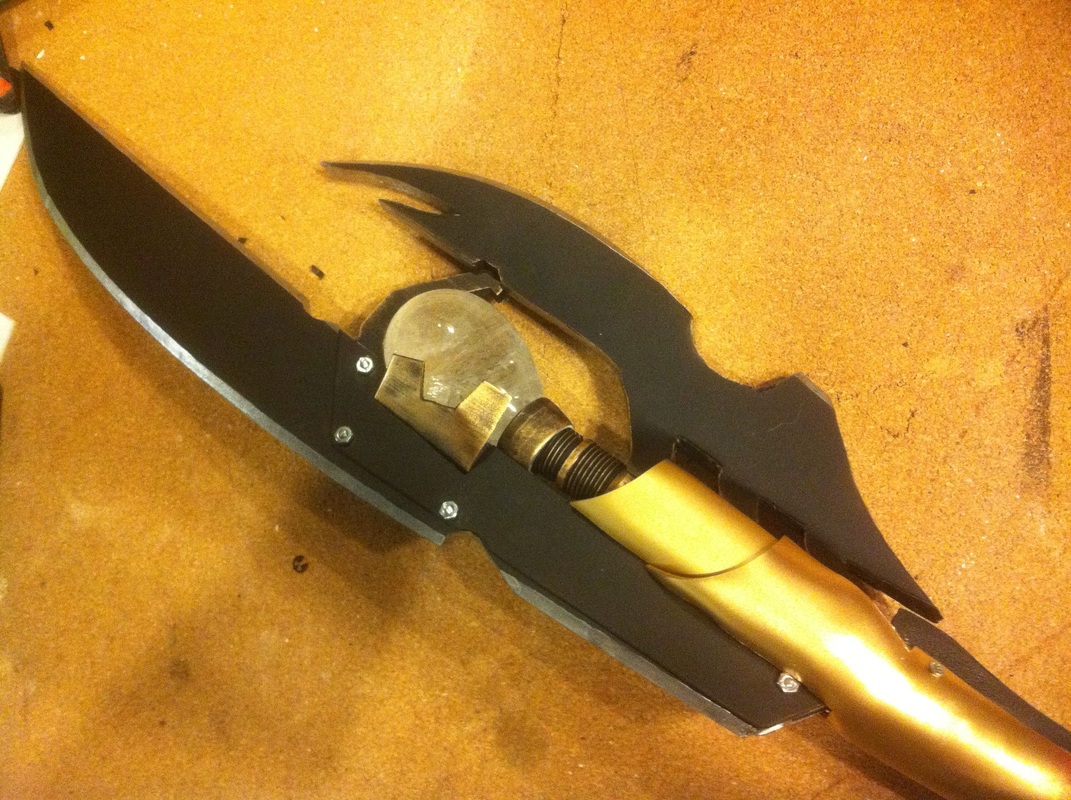
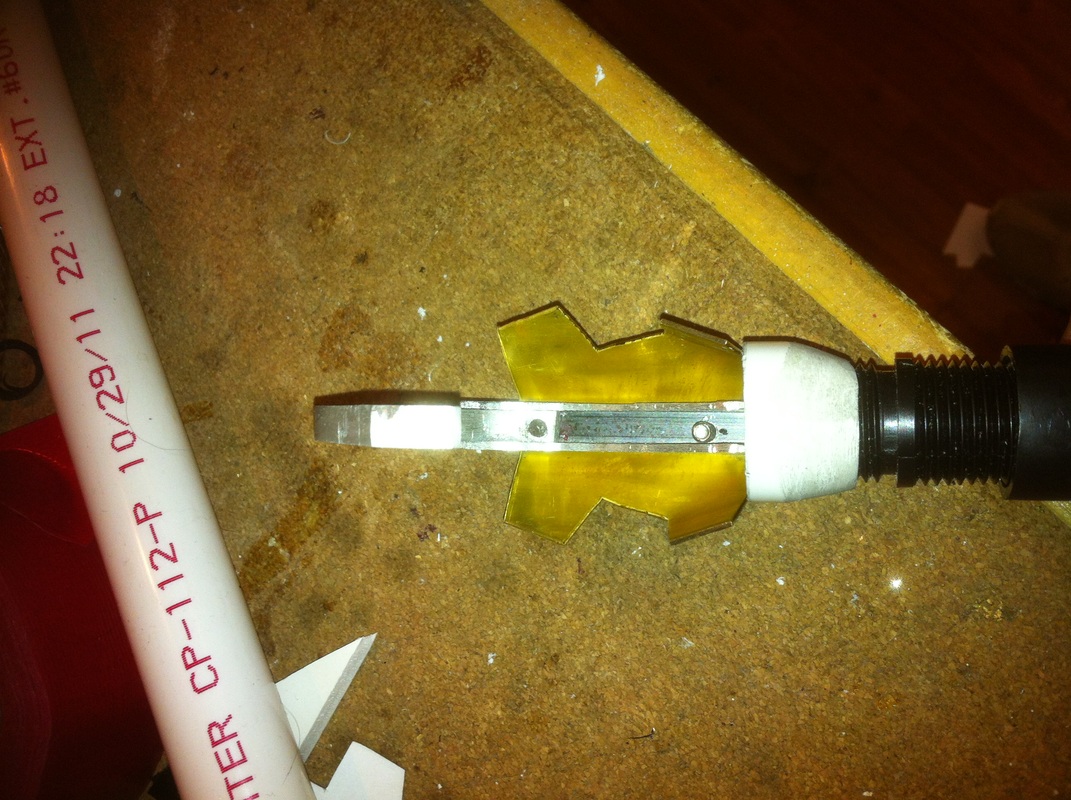
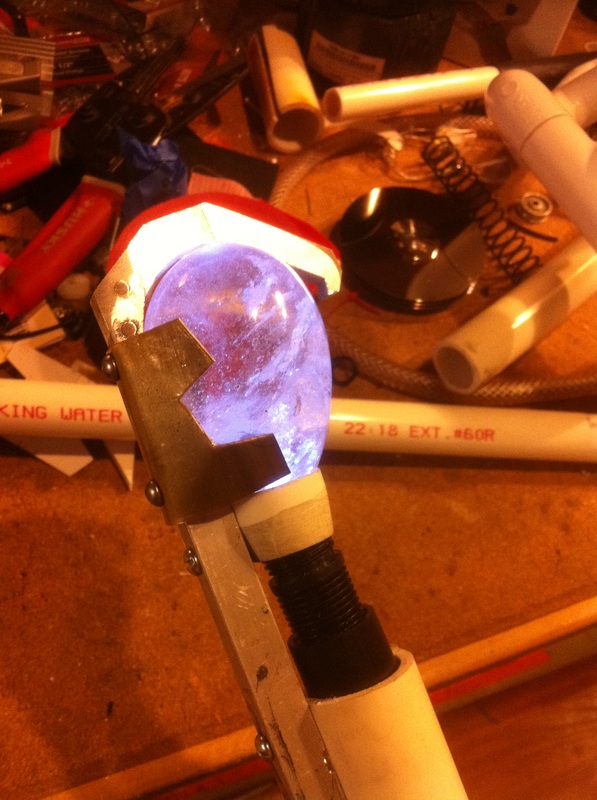
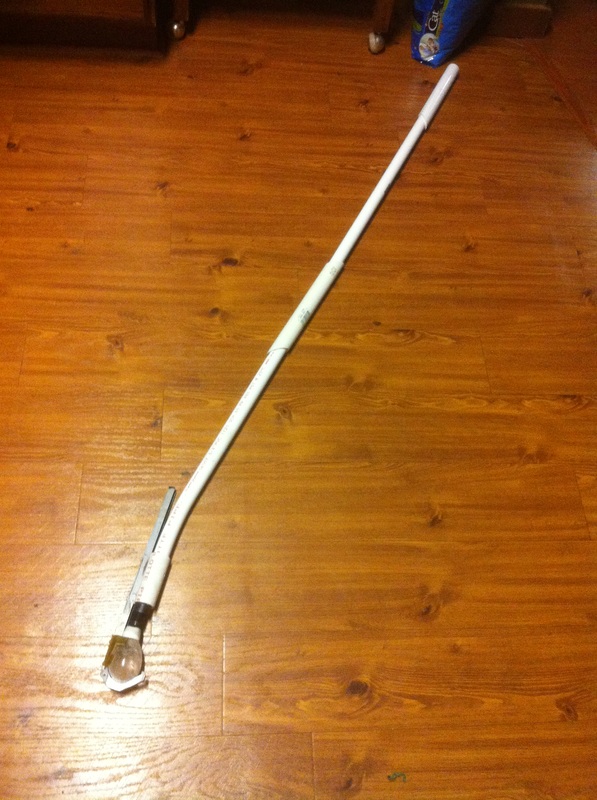
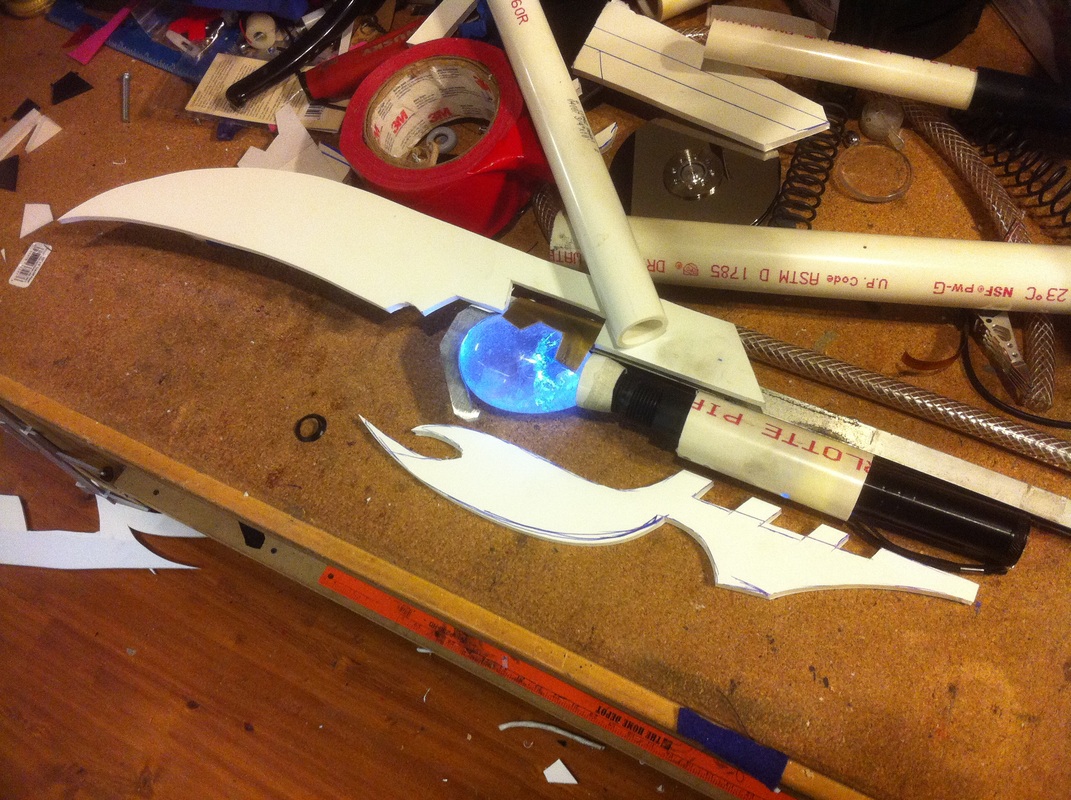
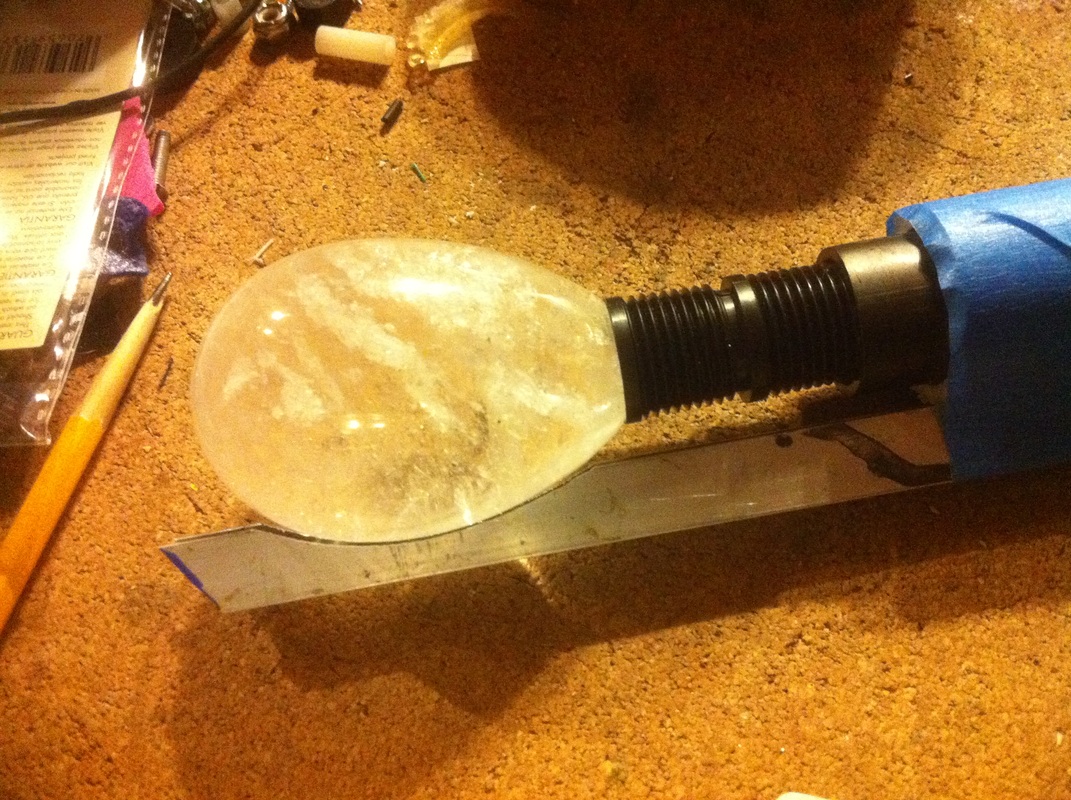
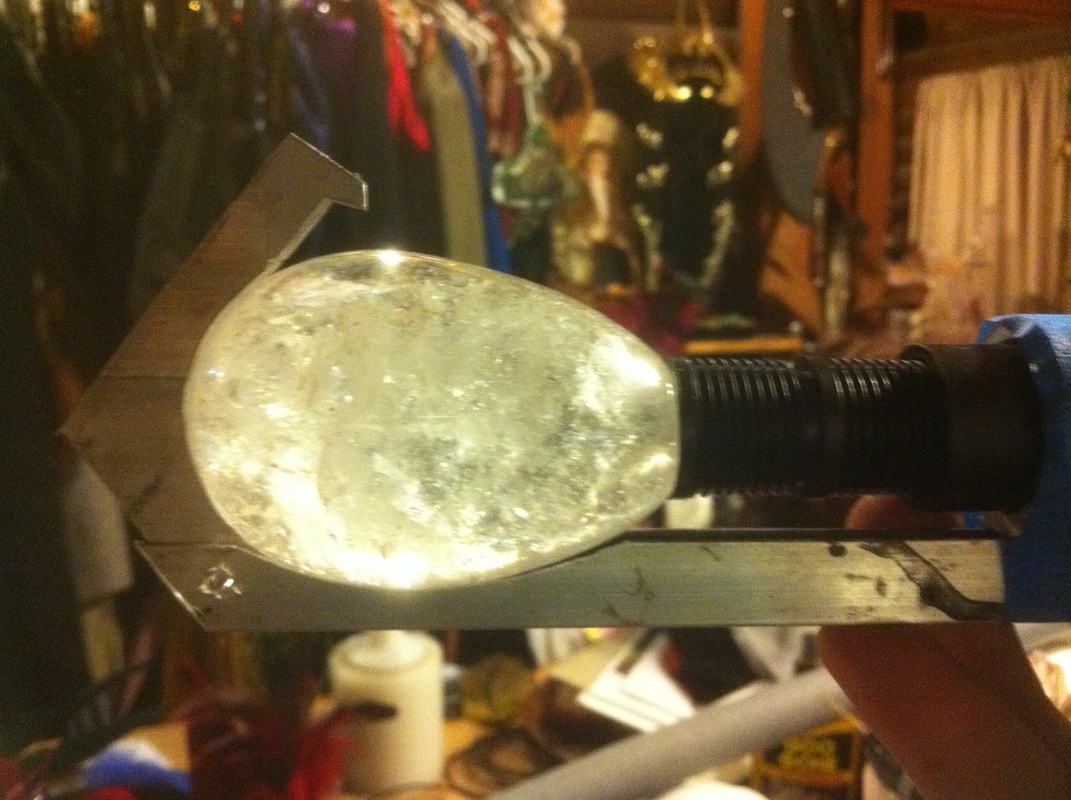
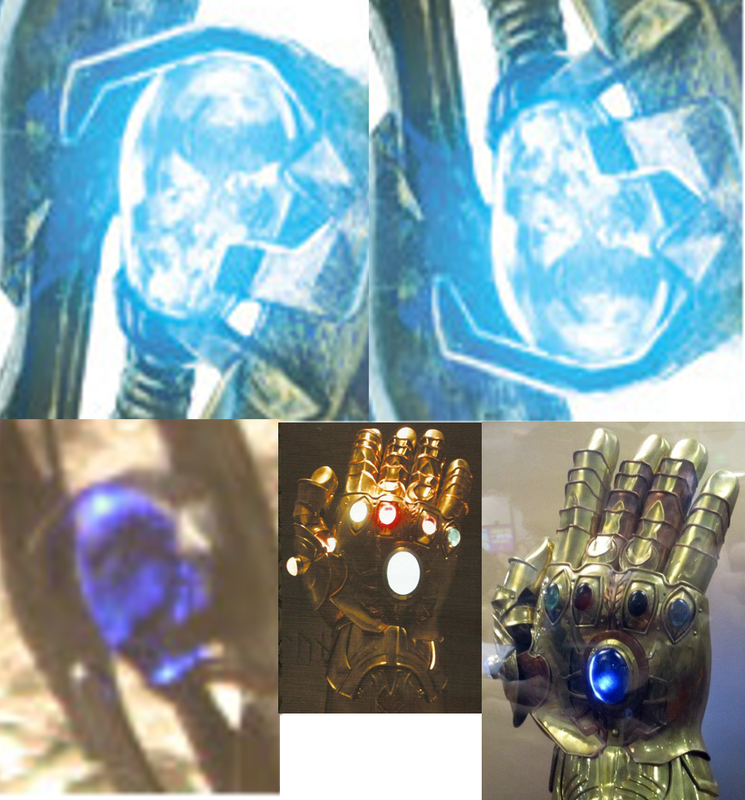
Got the "gem" bracket finished, by looking at the closeup of the concept art I decided there was a use for the little angled plates sticking out from behind the gem, once added the whole head bracket became very strong and held the stone in there rock solid without glue or anything. I stuck the bracket system on the staff to see how it feels.. might be a bit long but I can still cut that down to size. starting to take shape! So after the fabrication of this bracket I can now work on the bladed end. I got to make the blank blade templates out of foam board before I start cutting alum-board. Tomorrow is the blades, and the day after will be the scallops that go down the back and I'll be ready for final assembly, final detail, and painting :)
Crafting is an interesting thing, I've been thinking pretty hard about this staff and staring at the very few pictures available for it. Finally decided to wing it and create the bracket that holds the stone the way I think it should be made. My concern is the stone falling out when it's swung around. So I came up with this option.
I just wanted to share this, I've been mentioned in a few publications however being recognized by a celebrity who uses a wheelchair is an honor indeed. Read the article here.
http://blogs.suntimes.com/ebert/art-in-many-forms/outta-da-way-of-this-steampunk.html |
Dianna ValdezThis is a collection of my crafting achievements and milestones. I'm a part time craftsman of props, costumes and various fabrications. Archives
February 2014
Tags
All
|
 RSS Feed
